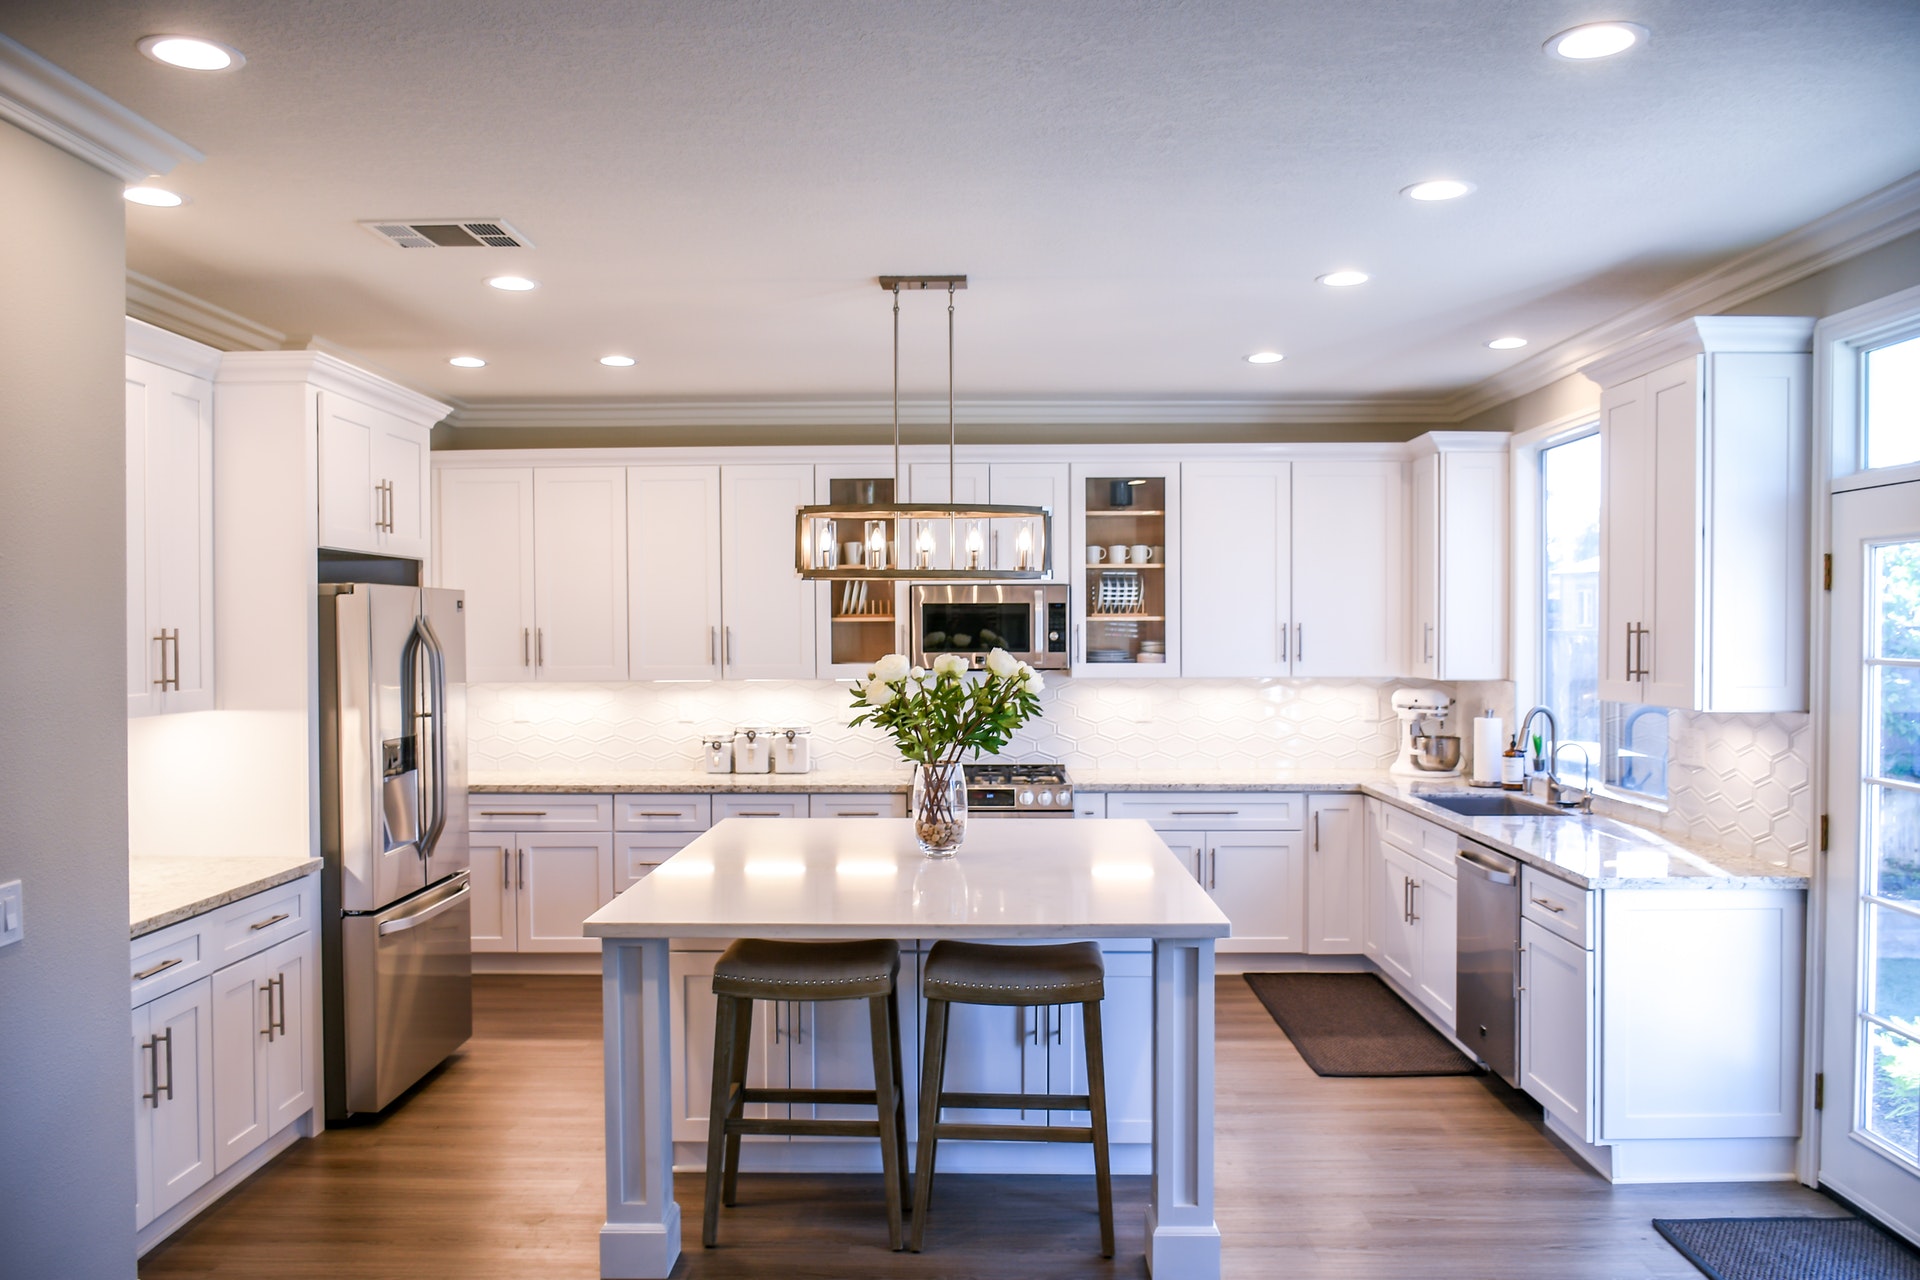
It doesn’t matter how large or small your home, or how long you’ve lived there, the kitchen remains one of the most important rooms in your home
In fact, renovating your kitchen will cost approximately $17,000 and it’s advisable to have the assistance of a plumber and a good local level 2 electrician.
However, if you don’t feel like renovating the entire kitchen you can drastically improve the countertop lighting by simply adding under cabinet lighting.
Until relatively recently the options were halogen or fluorescent tubes, that’s either a heat issue or a chunky light. Fortunately, it is now possible to use low-voltage LED lights that will illuminate the countertops perfectly.
In fact, the LED lights often arrive in strips. They can be daisy-chained together and the wiring is so thin that it actually slides behind the cabinets.
You’ll then need to choose between whether to have conventional LED lights which simply plug into a standard socket, or whether to have the hard-wired to a switch.
It’s worth noting that the conventional option includes a transformer in the plug, this can make it bulky. You’ll need to consider where is best to position it without the plug getting in your way.
The More Sophisticated Option
If you want the under cabinet lights installed properly then you should opt for the hard-wired route.
The first step will be to decide how bright you want the lights to be and what color. LED lights are available in virtually any color option.
You can then position your LED strips under your counters in the desired locations. The LED strips can be bent to the shape you need or cut, with different strips being joined together.
The end of the strip will have two cables showing. You’ll need to strip approximately 1 inch of insulation of each wire, leaving the wire exposed and ready to be connected to the next strip.
It’s a good idea to use strip connectors when entwining positive cables together and the negatives.
The wires closest to the socket can be run through the cabinet and stripped in the same way as those being prepared for daisy-chaining. These are then attached to the positive and negative terminals on your LED transformer box. The box will turn the lights on and off and even allow you to adjust their brightness. It’s a good idea to position it near a socket and where you can access it easily.
It should be noted that some strips do not have wires inside. Instead, you can purchase strip to strip connectors, these literally slide onto each end of the strips allowing them to be effortlessly joined. The same connectors will join the LED strips to the transformer box.
Now all you need to do is plug the transformer box in and turn your lights on.
Top Tip: Always test your lights before you make the first cut, it’s much easier to identify an issue and get the lighting just right if you check it first.


