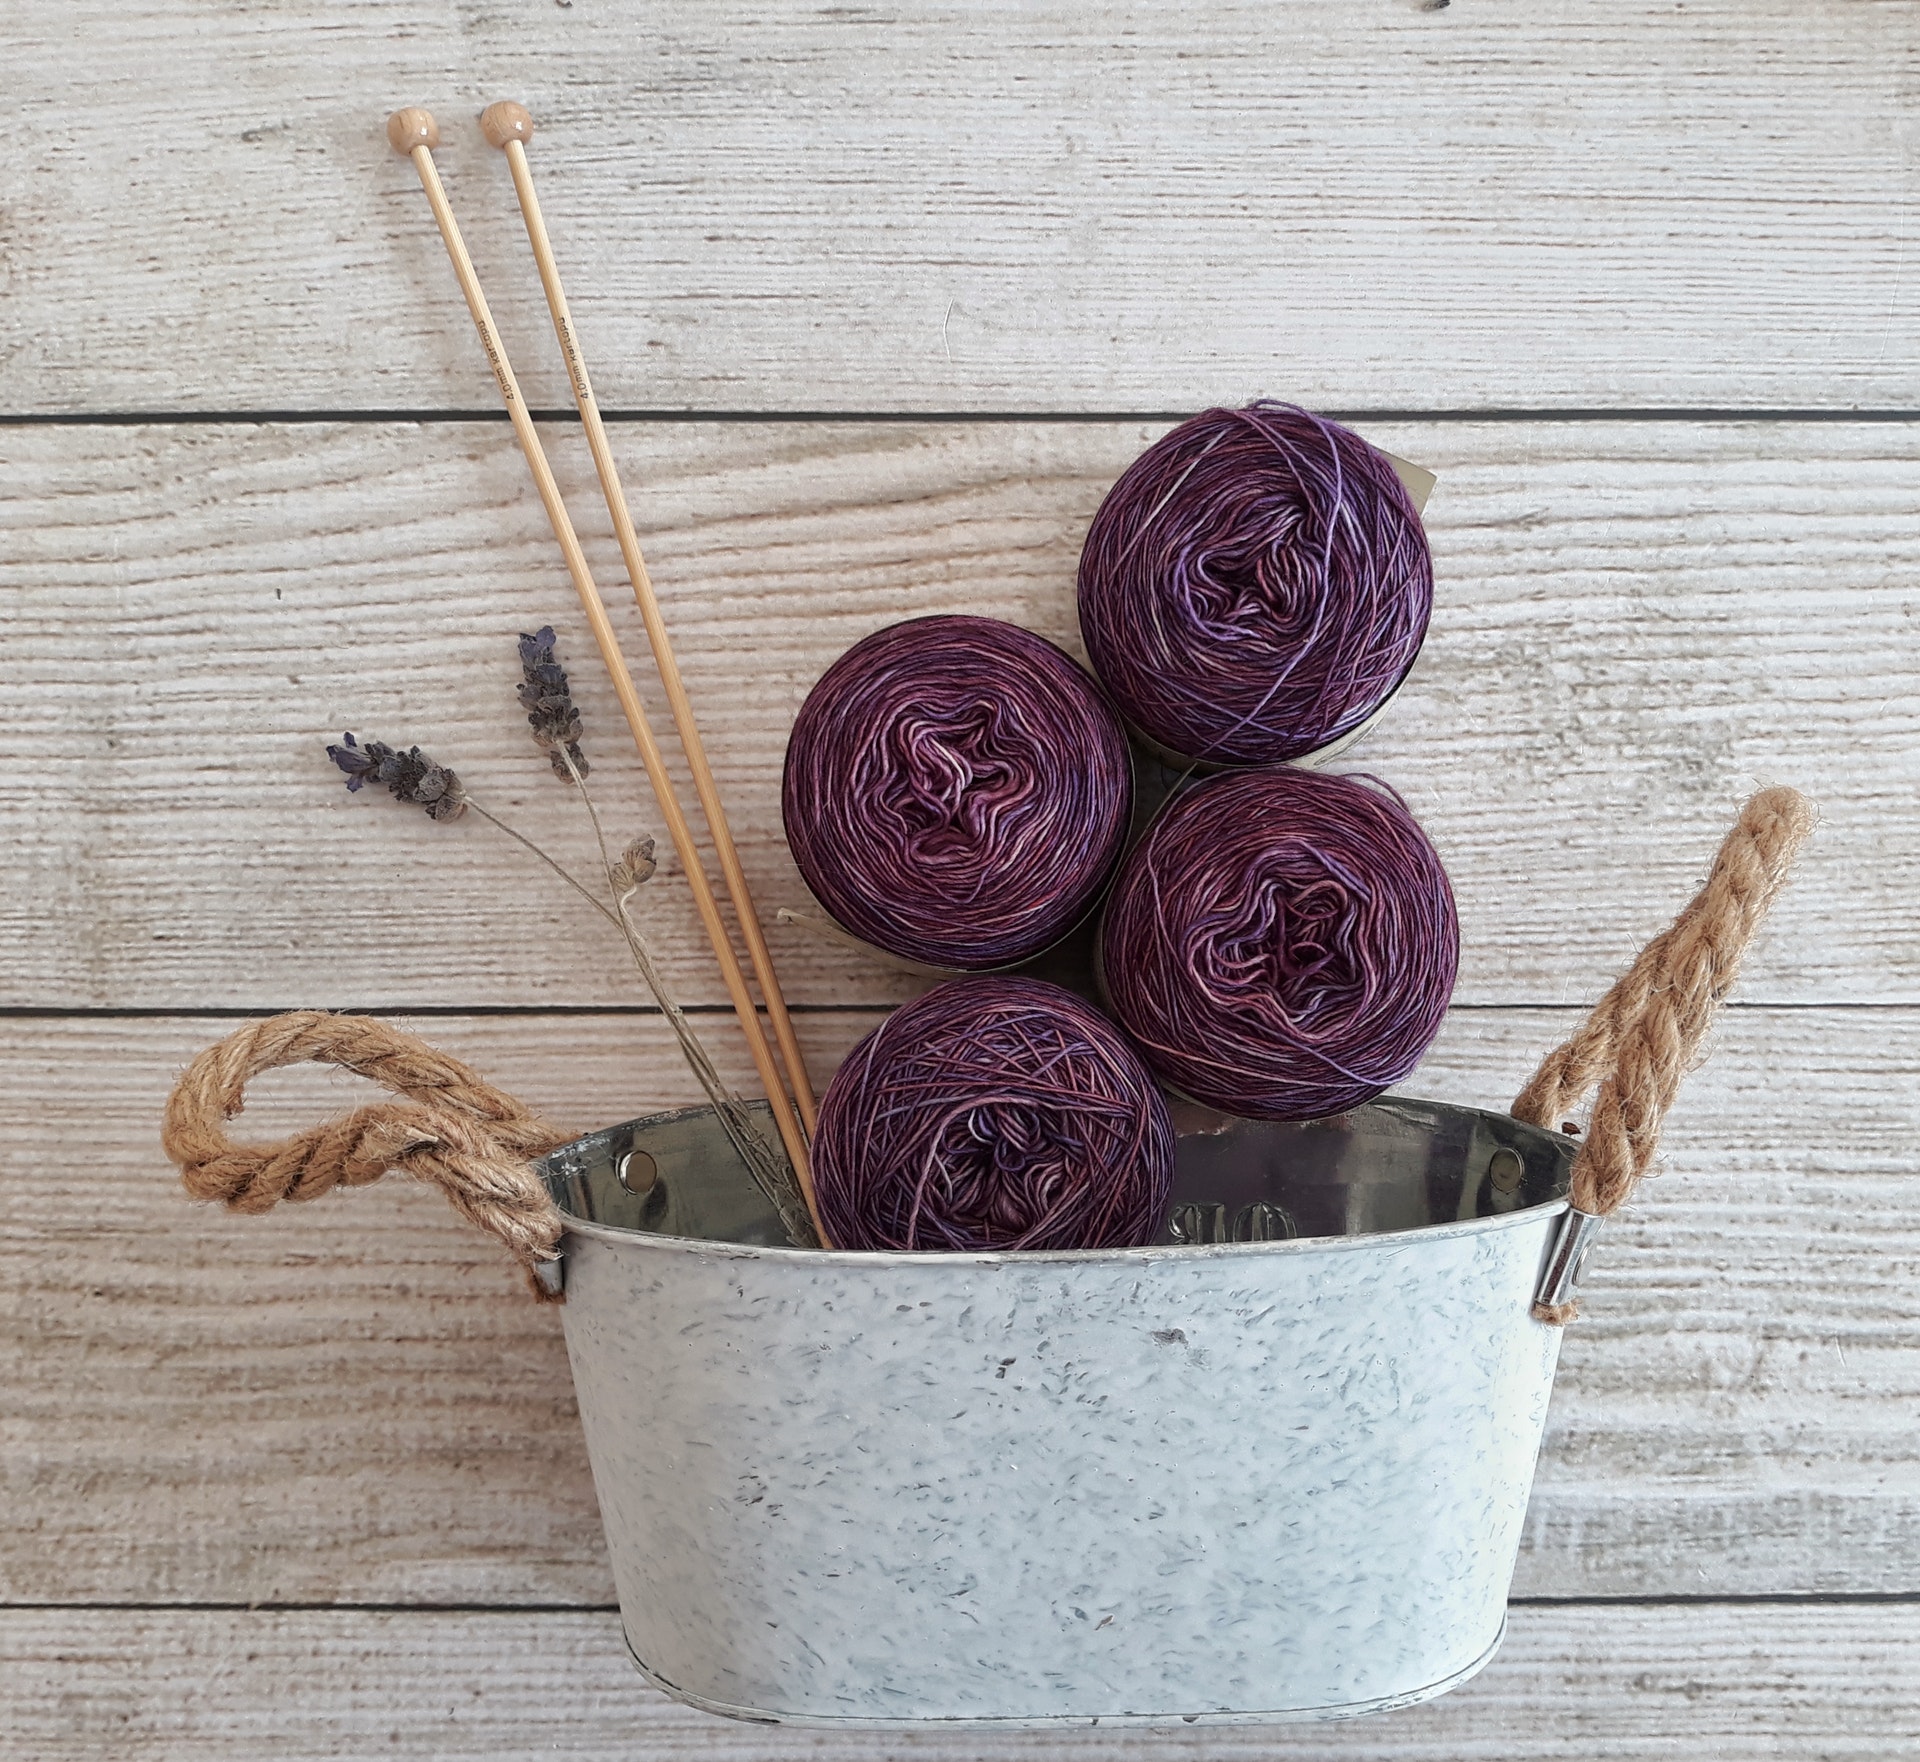
Interest in knitting has seen a huge resurgence in recent years and for good reason. It’s not just a way to create garments that are unique and cost-effective. Knitting also offers an impressive array of health benefits.
Of course, when you first start knitting your finished products are going to be pretty straightforward items with a plain weave. But, it won’t take you long to learn additional stitches that can transform any item. In fact, cable knitting is a simple process that will instantly enhance any item.

Understanding Cable Knitting
In essence, cable knitting requires you to twist stitches and sometimes change the order of them. This creates a lump, or cable in the garment.
You will need good quality wool from a reputable knitting wool store, and a cable needle, probably from the same place.
That’s it, you’re ready to go!
However, you should be aware that there are many different cable needles, some are short, others are thick, some are even both. The good news is that you can use any of them, it’s what suits you best.
But, you should match the gauge of your cable needle to the gauge of your knitting needles, this will ensure the size of your stitches remains the same.
Doing Cable Knitting
You’ll need to start off knitting as normal for a couple of rows. After you’ve done this you pick the row you want your cable knitting to start in and slide 2 stitches onto the cable needle. Continue knitting a couple of normal stitches and then re-introduce the stitches that are on your cable needle
You can now do another 2 normal knitting rows before repeating your cable knitting, by using the cable needle and waiting for several stitches.
It really is that simple! To ensure you get it right when it counts you should consider getting some practice in first, this will help you to get a feel for how the different size needles work and what the finished article will look like.
Adding a Twist
Instead of simply re-introducing the cable stitches to the standard knitting row, you can add a twist. This will increase the definition of the cable.
Simply twist the cable needle in front of your standard needles before you slide the stitches back onto the standard needles. With a little practice, you’ll find that you can actually cause these stitches to lean if you want them to.
It is worth noting that you can cable knit without the cable needle but this does require more practice and more patience. You’ll need to remove the stitches by hand and hold onto them, ready to slide them back in at the appropriate place. You’ll have to make sure you don’t drop the stitches as this may mean re-doing some, or even all, of your work.
Just remember to practice as many times as it takes for you to feel comfortable doing cable knitting. You’ll find it makes it easier to get it right when it really counts.


