Once upon a time, I owned a bread machine. I also had 3 little mouths to feed besides my own. I worked long hours and my bread machine came in handy.
Back then, they had the best sourdough box mixes to add to the bread machine but those days are long gone.
These days, the kids are grown and have their own kids and as someone who lives with chronic pain, 24/7, I’m always trying to find ways to fill my time to try to get my mind onto something besides pain. Baking bread is one of the hobbies I seem to enjoy.
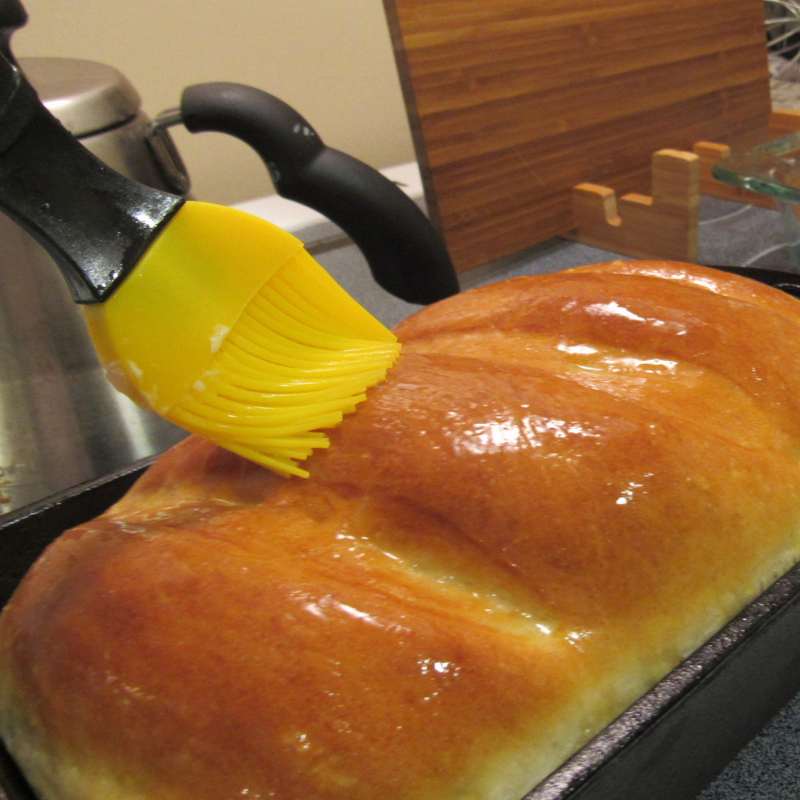
The smell of sourdough bread baking is amazing. It’s heaven on earth. And it’s really therapeutic.
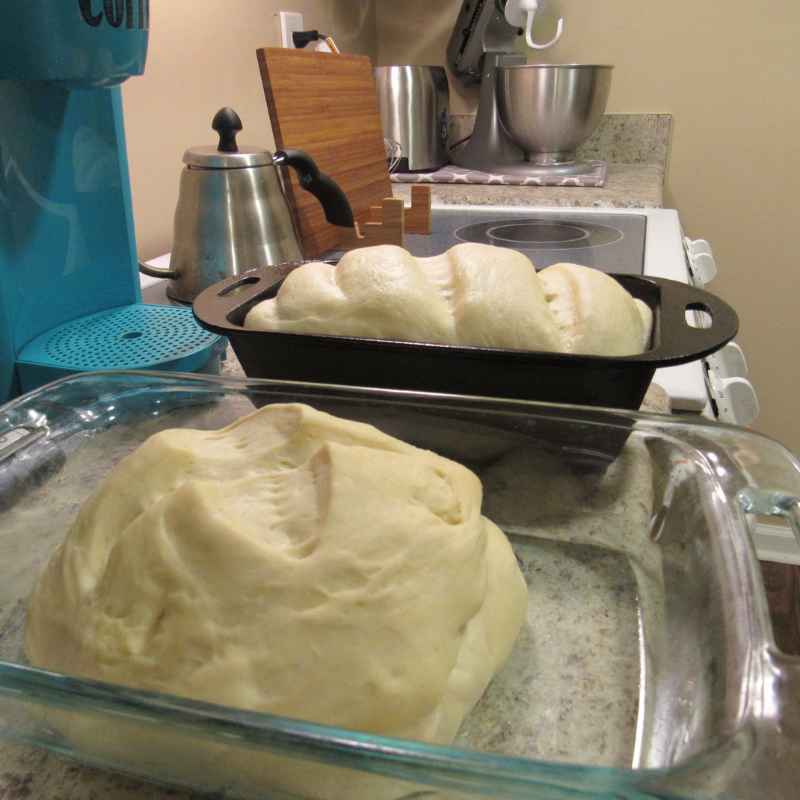
I use my KitchenAid mixer to mix the dough most of the time because of arthritis in my hands, but I still love to knead bread from time to time.
To make good sourdough bread you need a really good sourdough starter. I’ve tried every kind of sourdough starter imaginable that I could find on the internet but in the end, after many trial and error oopsie daisies, I’ve got the starter recipe down to perfection.
There is very possibly the same recipe lurking somewhere on the world wide web and if so, I wish I had found it years ago when I was trying to create a starter that worked quickly instead of the dreaded 10 days as I started out with. This recipe is not meant to copy anyone else’s and if it’s on the web, kudos to whoever created it before I was able to.
To make the sourdough starter, you need to start with …
Dishes:
- a glass bowl
- measuring cups
- a wooden spoon
Ingredients:
- 1 cup of milk
- 1 cup of ALL-PURPOSE FLOUR
- 1 packet of active dry yeast (or 2 1/4 teaspoons if using from a jar)
That’s easy enough, isn’t it? Now on to the 3 steps you need to remember to make the sourdough starter.
1. Add a cup of fresh milk to the glass bowl.
2. Add a cup of all-purpose flour to the glass bowl.
3. Add a packet of yeast to the glass bowl.
Stir. Set in a warm place for 48 hours. By all means, peek at it.
- After the 48 hours are up, stir the starter mix (with a wooden spoon only) because chances are, there is a liquid forming on top. This is normal. Don’t panic. Unless it has an awful smell that’s not yeasty, it’s fine. It’s doing what it’s supposed to.
- Now, at this point, I add my starter mix to a clean dry glass bowl. I just don’t like the look of the bowl after the first stir.
- Then, I remove 1/4 of the mixture. You can put it in the fridge or give it away if you know someone who likes to bake bread. There are many ways to use up your discarded sourdough bread starter.
One thing to remember is every time you remove any of the sourdough bread starter for any reason, be it to feed it or to use in a recipe, you need to replace the same amount with all-purpose flour and water. Add 1/4 cup of all-purpose flour and 1/4 cup of water. Stir it well and put it back in a draft-free area. This is called feeding your starter. I do it the day before I am going to bake my bread. So, on the 4th day, after starting my starter, I bake bread.
Here’s a little FYI for you, the longer you keep your starter going, the better the bread is going to be. Some families even hand theirs down through multiple generations.
A good started starter will never let you down. My bread rises perfectly every time by following the above steps.


