Budding amateur DIY-enthusiasts across the country always eagerly anticipate the arrival of the warmer late spring and summer months, as they can turn their attention (and their fledgling skills) to the backyard and garden.
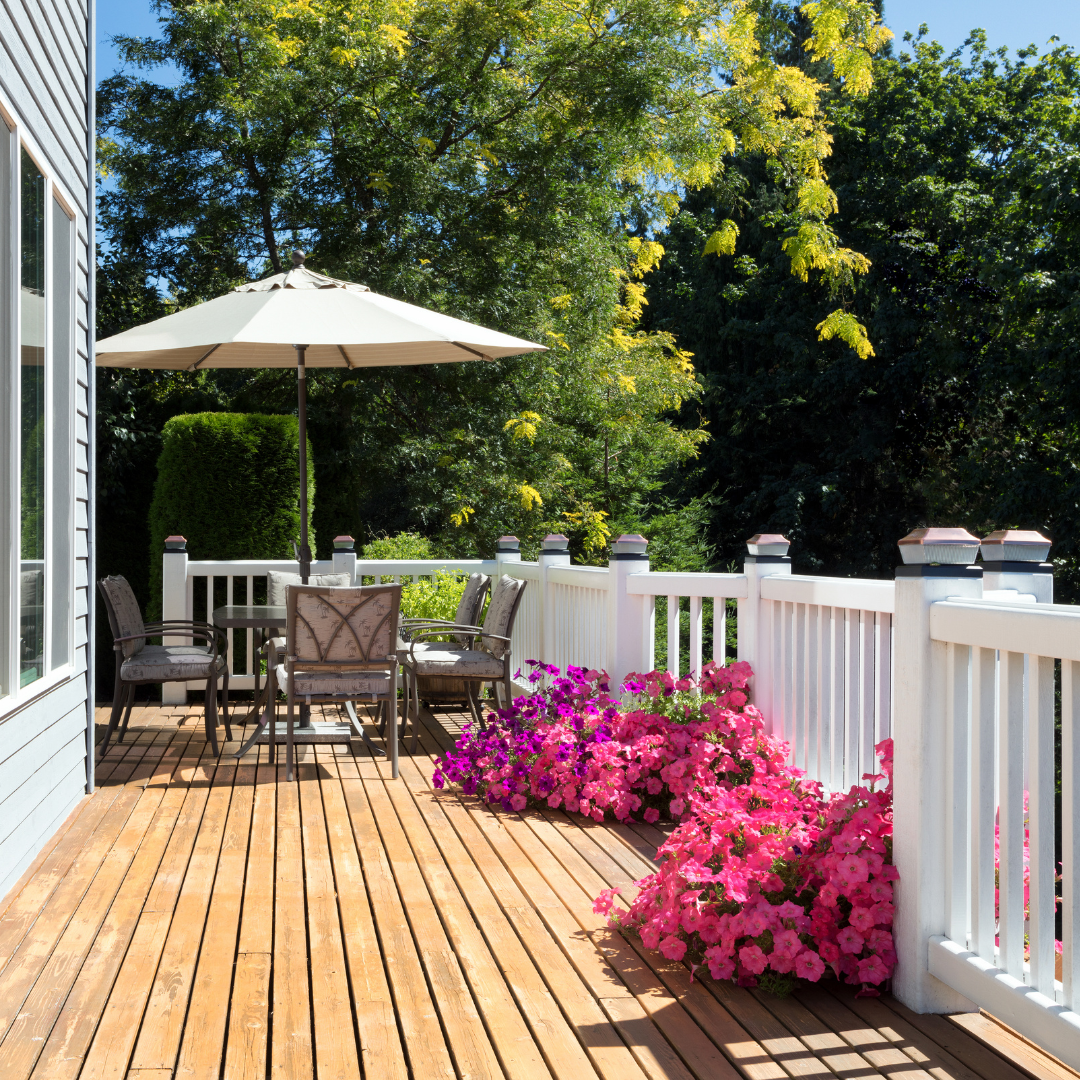
A functional, yet aesthetically pleasing, decking area in the backyard is the perfect addition to any garden and can be enjoyed by adults and children alike, even in the winter months.
If you’re considering embarking on a DIY project to build your own deck, then continue reading. Here’s a step-by-step guide to building a deck in your own backyard.
1. Gather the Provisions
You may well be fortunate enough to already have a shed or garage full of random nails and screws and other items that are needed to build your own decking, but it’s still likely that you’ll need to head to the hardware store, at least for a couple of odd items.
Generally, to build your own decking, you’ll require the following:
- Exterior wood screws
- Tape measure
- Spirit level
- Drill driver
- Treated timber (100mm by 50mm)
- Square
- Hammer
- A hand saw or chop saw
- Decking boards
- Weed membrane
- Concrete blocks
- Pencil
2. Prepare the Area
Ensure that the area you’re intending to erect the decking boards on is entirely free of weeds, rocks, stones, and other debris, and that the ground is completely level.
Carefully and accurately cut the treated timber to the desired measurements and create the framework by attaching each piece of timber with exterior wood screws. Once you’ve assembled the framework, make sure that you’ve measured correctly, and adjust the screws should you need to.
3. Raise the Frame
Next, carefully cut four timber blocks to the height you’ve planned for the decking frame to be raised to and screw each block securely to the inside of the frame from each of the four corners, using at least three screws for each block.
If you’re also constructing a rail around the perimeter, then make sure you leave adequate space. If, instead, you’re looking to use your fledgling DIY skills to upgrade and update your current decking area, then looking into aluminum railing replacement is a must, not just for structure and symmetry, but also from a health and safety perspective, too.
If your decking will be sitting on soil or part of the lawn itself, place slabs underneath each of the blocks and ensure that the entire frame is sitting entirely level.
4. Lay the Decking Boards
Finally, cut the exact lengths of the decking boards to match the measurements across your penciled-in joist marks and tap each of the joists with a hammer before screwing them in place once you have them in the right position.
Space legs to support each joist at one-meter intervals and place a smaller slab underneath each leg before laying the decking boards themselves. Each board should be cut to the exact measurement required and laid down flush with the edge of the framework and perpendicular to the positioned joists.


