
Photographing jewelry is not as easy as it sounds. You need to follow certain tips to make the process successful.
Due to the fact that studio equipment is far more straightforward to assemble, photographing jewelry may be less challenging than photographing larger objects.
Here are a couple of things you can try if you want your jewelry pictures to really stand out from the rest:
Try using natural light
The flash on your camera should never be used while photographing glittering jewelry since it will damage the photo. Because of the light reflected off of your product’s exterior, it will seem white in areas where strong shadows have been thrown against it.
Unless you are a very competent photographer shooting for a highly professional studio environment, natural lighting should be used while photographing jewelry objects. When dealing with natural lighting, note than using the sun’s rays as indirect source of light, can enhance the beauty of your jewelry pieces.
When using bright sunlight or a built-in flash, you may want to consider filtering the light to eliminate the reflections and harsh shadows that might occur as a result of these effects. Place a white sheet over the window in order to get this effect; using a different colored sheet or piece of paper will change the color of the light. You can also follow this link to discover more https://www.wikihow.com/Shoot-Product-Photography.
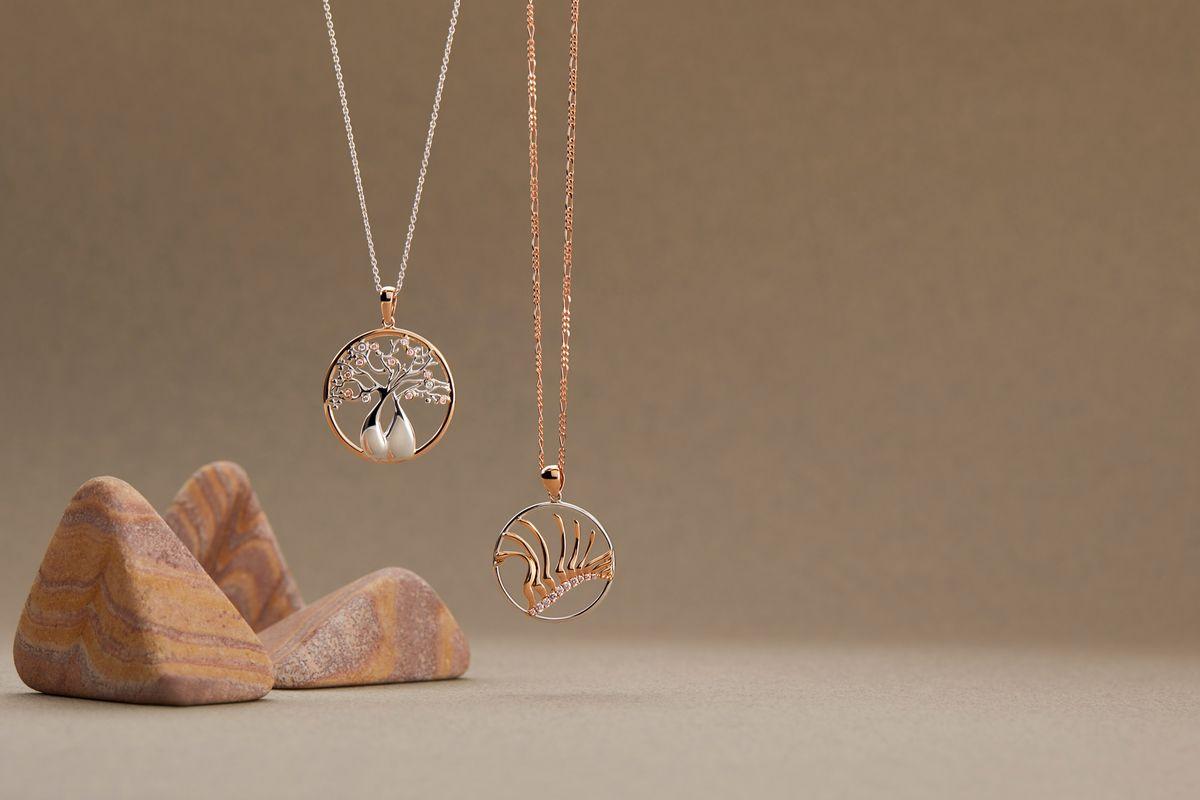
Try using a white piece of paper
Because most jewelry has a reflective surface, it will absorb all other colors, therefore photographing it on a white backdrop will prevent the color of the piece from being altered. White also reflects light, while dark colors absorb it; consequently, shooting your products against a white backdrop would result in better lighting results than photographing them against a dark backdrop.
However, despite the fact that photographing quality product shots of jewelry is far more challenging than photographing decent product photographs of something as basic as a blue chair, jewelry has the benefit of being significantly larger in size. To create a white backdrop, you do not need to spread a white sheet from wall to wall, the way that you would do while painting. You may just fold a piece of paper in half so that it stands up on its own, if necessary. That’s all there is to it, really. Read more on this page.
Look for mannequin busts
Getting props will help make sure that your jewelry is shown in the most flattering light possible. Necklace mannequin busts are widely accessible at most shops, and they can be really beneficial in giving your unique jewelry pieces a more attractive and realistic aspect than they would otherwise have.
Most stores feature black busts, as you’ve probably noticed if you’ve been shopping recently. This is because black busts help jewelry stand out and provide an overall sense of elegance to an outfit. Many professionals, on the other hand, feel that photographing your items in white will make them appear far better.
This regulation applies to everything, even jewelry. Using a white cloth, cover your black jewelry bust before photographing it. If you change your mind, you may effortlessly remove the backdrop from the photo.
Try a cardboard
Have no access to a mannequin? No problem! Using jewelry clipboards, create a jewelry box-inspired accessory. Take a piece of cardboard. Then cover it with white paper before attaching your necklace on it. The length of the chain may be adjusted depending on where you wish to clip it, so don’t be worried about the size unless you have a really huge piece of jewelry.
A mannequin may save time, but utilizing cardboard will highlight the natural contours of the necklace and make it seem more appealing when photographed from the front, similar to how a mannequin would do so. if this is too much work for you, you can always hire a professional jewelry photographer and watch them work their magic with your jewelry.
What are some other tips you can follow?
It is considerably easier for buyers to navigate throughout your products if your photographs are consistent from one product to the next.
In addition to ensuring that your images are consistent from one session to the next, establishing photographic rules for your team will aid in maintaining consistency in your photographs. Consider the possibility of having a different website style for each photographer with whom you collaborated on a particular day. Due to the fact that it does not appear to be on brand, it would be quite perplexing for the buyer to purchase.
If you are unsure, take a simple approach to the situation. Due to the fact that you want to emphasize the product and its attributes, keeping things simple is really necessary. Make certain that all of your product images are taken against a simple, uncluttered backdrop as mentioned above.
While elaborate photographs might be beneficial for marketing shots, when it comes to your online store, you should attempt to make things as basic as possible in order to allow buyers to quickly check and visualize the product on themselves.
Also, be sure to make use of a reflector to your advantage. In the case of a window, the light will only come from one direction, which is great for photographing close to the window. If necessary, reflectors can be placed on the opposite side of the room to act as a fill light to help balance out the shadows. Use of reflectors allows you to give equal lighting without having to mix several light sources together.
A zoom-in feature will be offered on an item in your online store, provided you are able to snap high-resolution photographs of it while capturing the intricacies of the product’s design.
Customers will be able to check every aspect of your product if you enable the zoom feature on your website. Customers may click on a photo to enlarge it and analyze every feature of your amazing pieces.
It is vital to provide the information to the customer so that they are not left wondering what the piece looks like from the side or the back, or what type of clasp it has when they make their purchasing decision.
Shoppers will have a better sense of what to expect when they receive their goods if you include extensive images with your listing.


